This article is a first-hand account of lab-based testing to configure Keycloak SSO with Duo 2FA into VMware’s vCloud Director. All testing and documentation was completed by phoenixNAP’s own Joe Benga. Joe is our trusted Enterprise Architect for cloud, infrastructure, and networking technologies.
I have grown fond of Keycloak as a product. I find it to be a strong source identity and Access Management Solution (AMS).
I wanted to be able to leverage Keycloak in my lab for VMware’s vCloud Director (vCD), and test Active Directory (AD) integration with two-factor authentication (2FA) support.
In this first-hand account, I list the steps I took in a lab environment to provide Security Assertion Markup Language (SAML) integration with Keycloak at an organizational level. Additionally, I explain how I provide Duo Security 2FA to the front-facing portal.
As always these are just basic steps. Please keep security and best practices for your company in mind.
Keycloak
For this experiment, we are fortunate that Keycloak has a pre-built docker package to jumpstart everything.
With a few simple commands, I was able to get a core product up and running on a Centos 7 Virtual Machine (VM). At this point, I decided that instead of running everything standalone, that I would back it with a Postgres container. For your experiment, you can decide what you need for your own lab, with different options provided in the info link below. I added color coding to show how commands are related to each other.
For full info: https://hub.docker.com/r/jboss/keycloak/
Prerequisites: Docker CE, Firewall settings (if required)
- Create a shared user network for Database and Keycloak container
docker network create keycloak-network - Start DB Container (optional and I went with Postgres)
docker run -d --name postgres --net keycloak-network -e POSTGRES_DB=keycloak -e POSTGRES_USER=keycloak -e POSTGRES_PASSWORD=password postgres - Start Keycloak
docker run -p 8080:8080 --name keycloak --net keycloak-network -e KEYCLOAK_USER=username -e KEYCLOAK_PASSWORD=password jboss/keycloak - Once you have completed these steps, you should be able to login into Keycloak at (username and password is what you defined in green text)
http://ip_addr:8080/auth/admin/
Note: For production use, you will want to consider using a secure secret storage service for handling credentials passed to the container.
Keycloak vCloud Director Configuration
- Create a new realm based on your vCloud Org’s name
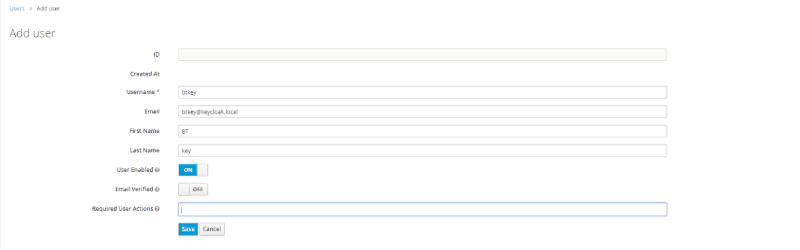
Select the drop-down arrow next to Master and select Add Realm. Note: If you are not going to leverage SSL once your realm is created, navigate to the login TAB and set Require SSL to none - While in Keycloak, create a local User to use as a test. (Later, we will leverage an Active Directory User.) Under our Realm in the left pane navigate to Manage > Users. In the right pane select Add user
- Enter the info for the User. Make sure to include an email address as we will specify email as the Name ID Format in this log. Then select Save
- Create a password for the User. Navigate to the Credentials tab. Enter and confirm the new password and deselect Temporary. Then click Reset Password
- Now that we have your realm and user we will need to grab your org’s metadata. Log into your org. Navigate to Administration in the left pane under Settings > Federation and select the Metadata link. Download the
spring_saml_metadata.xmlfile. This file will provide us the certificate and config file that can easily be imported into Keycloak’s client setup

- In Keycloak, navigate to the left pane under Configure > Clients and select create in the right pane
- Click on Select File and import the
spring_saml_metadata.xmlthat was just downloaded. Select Save - Navigate to the Installation Tab and in the Format Option: select SAML Metadata IDPSSODescriptor, then copy or download the text that shows up in the dialog box
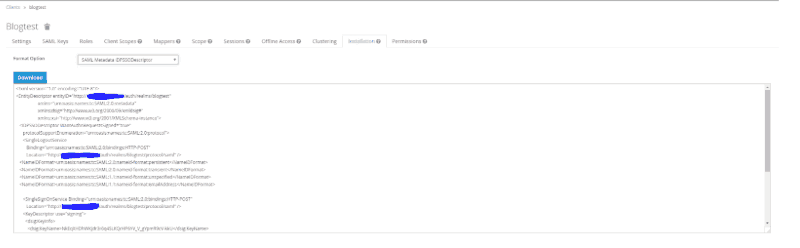
- In vCD, navigate under Administration. Then in the left pane Settings > Federation select Use SAML Identity Provider and then copy or upload the SAML Metadata IDPSSODescriptor info from above. Then click apply. Note: Depending on how you are doing your network and setup you may need to adjust the IP info in the Metadata XML manually
- Import the Keycloak user. In the right pane under Members > Users. Select Import Users Icon. Then enter the email address of the user we created above and select the desired vCD Role. Note: During this step, I also include the active directory user email that I will be using later.

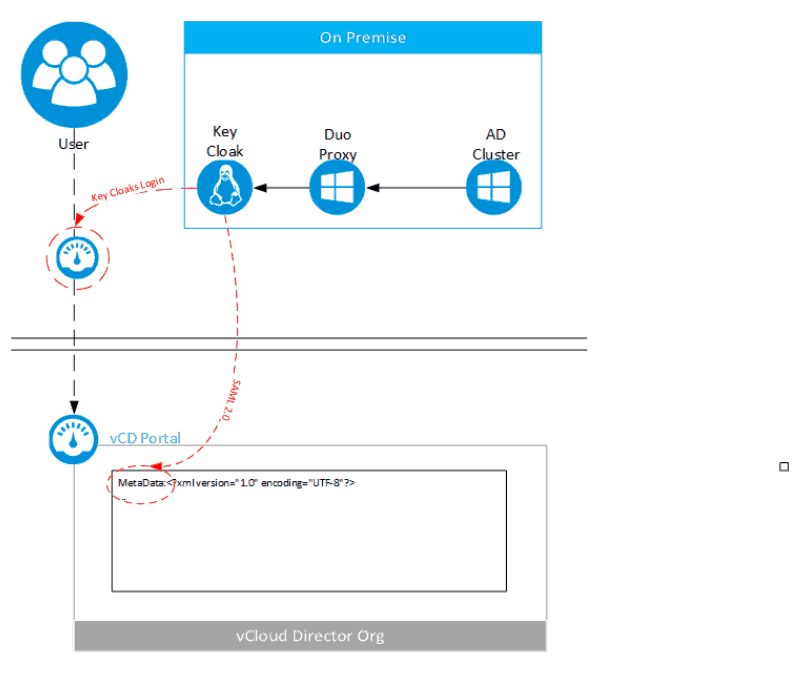
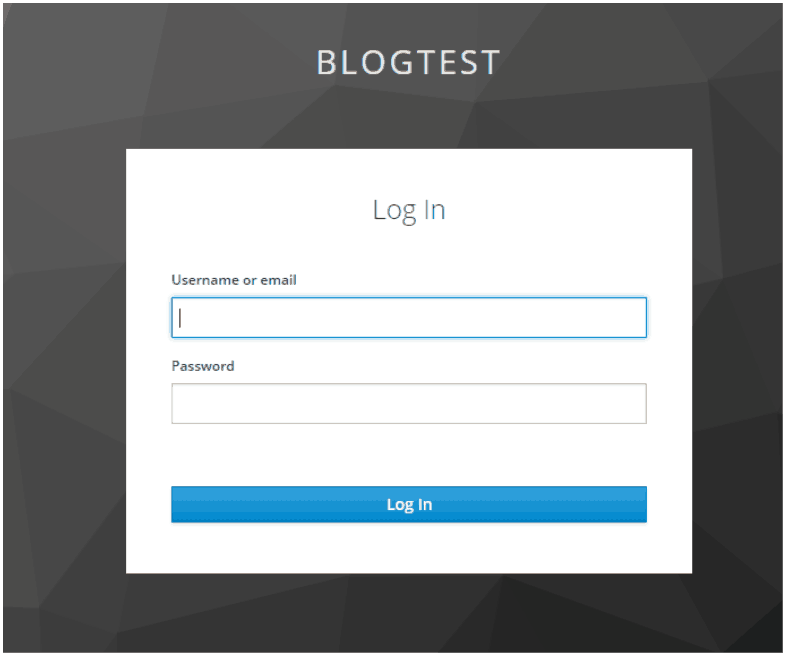
- Log into vCloud Director org, and we will be redirected to the Keycloak Realm login screen.
We now have our Identity Manager Application providing authentication for our vCloud Director portal. Next, we will sync up with the Active Directory underlying this set up through a Duo proxy and show how to leverage 2FA. I will also show how to add OTP to any user to quickly leverage Google Authentication.
Integrating Duo into Keycloak
Prerequisites:
- Active Directory already running
- Duo Auth Proxy Running (https://duo.com/docs/authproxy-overview) and connected to Active Directory
Note: My Duo Proxy Configuration
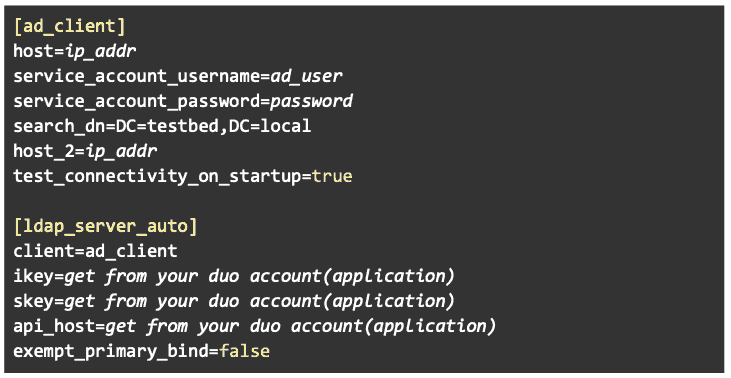
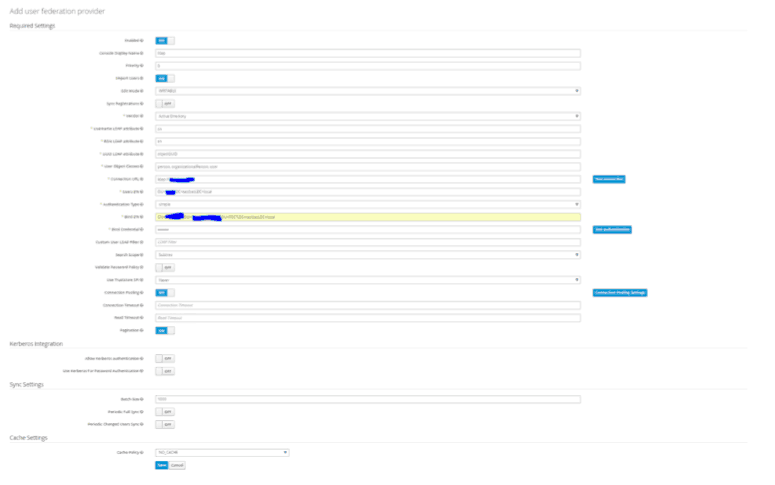
- Under our Realm in the left pane navigate to Configure > User Federation. In the right pane add an LDAP provider.
- Set your Edit Mode: Vendor: Active Directory (this is due to my Duo proxy connecting to Win2012 AD), Connection URL, User DN, Auth Type, Bind DN, Bind Credentials, Connection Search Scope: SubTree (unless you working in the same level), Cache Policy: No Cache (we want the request to hit the proxy for every request)
- Select Save, and then select Synchronize: All User
- If you didn’t pre-add your Duo user add it now; repeat Step 14.
- In the vCD login screen, use the email of the backing AD account that is leveraging Duo. Please note that the login screen will not display any prompt that it is awaiting 2FA approval. The screen will just appear stuck until you approve on you 2FA hardware device.
Adding One Time Password (OTP)
Use this process to add an OTP quickly.
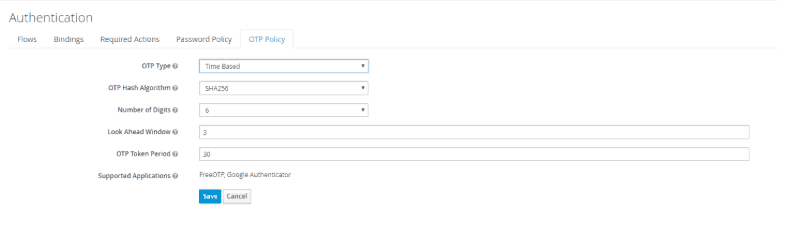
- Under our Realm in the left pane, navigate to Configure > Authentication. Select the OTP Policy and configure your setting. Note: you may need to adjust your look ahead window to accommodate mismatched time settings on your servers.
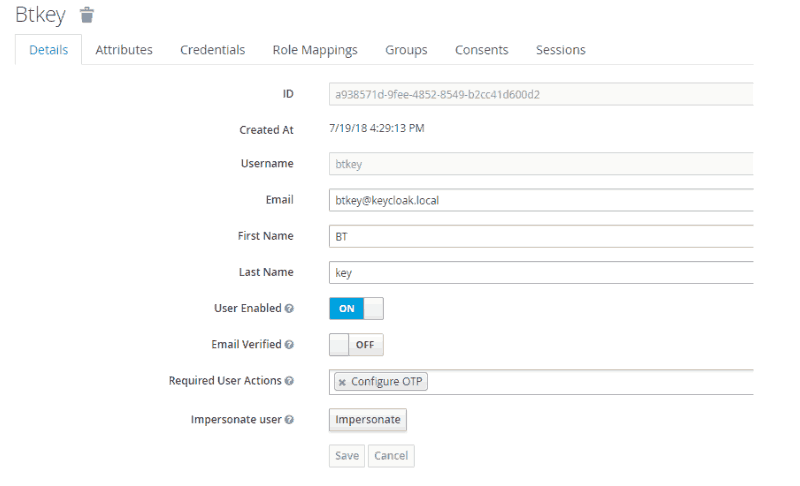
- In the left pane, navigate to Manage > Users and select the user we created in Step 6.
- Under the Detail tab, in the Required User Actions config select Configure OTP, and select Save
- Log into vCD with this user. Before we can access vCloud Director, we need to set up a 2FA authenticator. This can be done from the screen shown below.
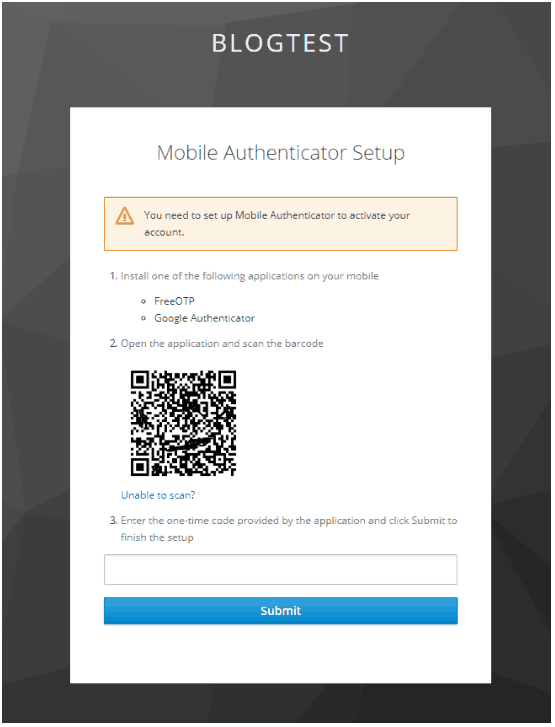
- You can leverage any OTP app such as Duo or Google Authenticator. Once you verify, you will be directed to your VCD Org.
The next time you log in, you will be presented with the following prompt:
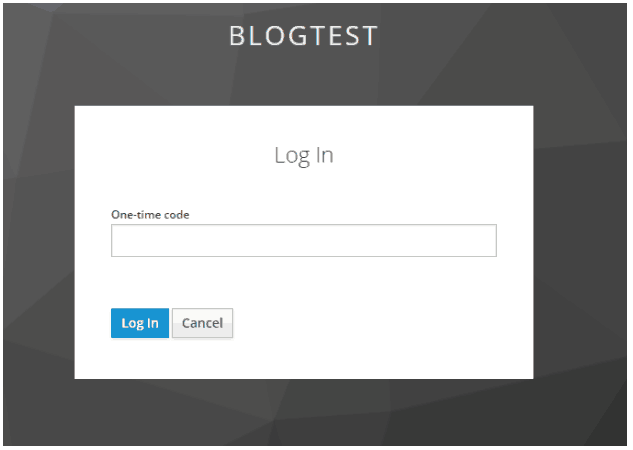
Enter your code from the App and you will be good to go.