Introduction
TensorFlow is an open-source machine learning platform. Google designed the software to help researchers, data scientists, and developers simplify the process of implementing machine learning models.
This end-to-end library for numerical computation can run on multiple CPUs, GPUs, as well as mobile operating systems.
In this tutorial, learn how to install to TensorFlow on Ubuntu 20.04 or 22.04 using two methods.
Note: For CentOS, see our guide on installing TensorFlow on CentOS.
Prerequisites
- An Ubuntu Linux system (20.04 or 22.04).
- Access to a command line/terminal window (Ctrl+Alt+T).
- A user account with sudo privileges.
- Python 3 installed on the Ubuntu system (we use Python 3.9).
Step 1: Install Required Packages
Before installing TensorFlow, set up the Python development environment. It includes the following software:
- Python-dev for installing header files for Python extensions.
- The pip package manager.
- Miniconda for creating a separate environment and simpler GPU setup. Skip the Miniconda installation if you already have Anaconda installed.
Follow the steps below to install the required packages:
1. Open the terminal window and start by updating the repository with:
sudo apt updateWait for the update to complete, and proceed to the next step.
2. Install python3-dev and python3-pip with the command:
sudo apt install python3-dev python3-pip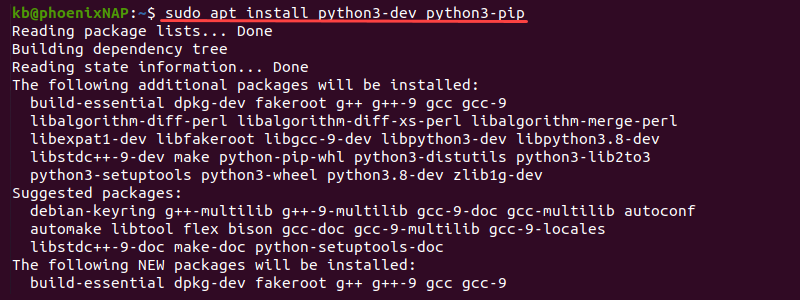
3. Download the Miniconda shell script using curl:
curl https://repo.anaconda.com/miniconda/Miniconda3-latest-Linux-x86_64.sh -o Miniconda3-latest-Linux-x86_64.sh
4. Run the script to start the Miniconda install:
bash Miniconda3-latest-Linux-x86_64.sh
Press Enter to view the license agreement and write yes at the end to accept the terms.
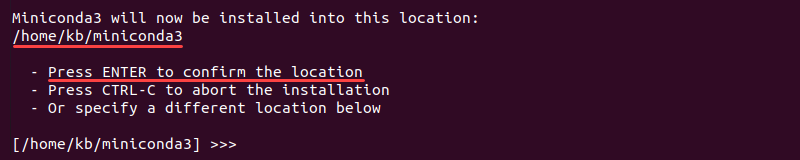
5. Choose the installation location. Press Enter to accept the suggested location.
6. Lastly, when asked to initialize Miniconda3, type yes.
7. Restart the terminal. The terminal starts in an isolated environment and shows a (base) prefix.
8. Verify the installation with:
conda -V
The conda version prints to the output.
Step 2: Create a Conda Environment
Use conda to create a separate Python environment for installing TensorFlow. Isolated environments allow running different TensorFlow versions on the same system without conflicts.
1. Update conda to the latest version:
conda update -n base -c defaults conda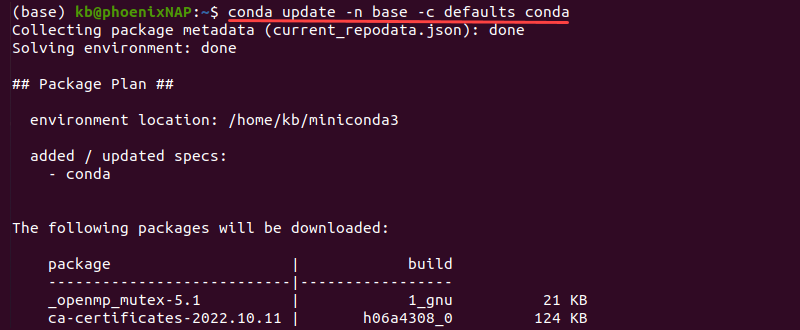
When asked to proceed, press y and wait for the updates to complete.
2. Create an environment named tensorflow:
conda create --name tensorflow python=3.9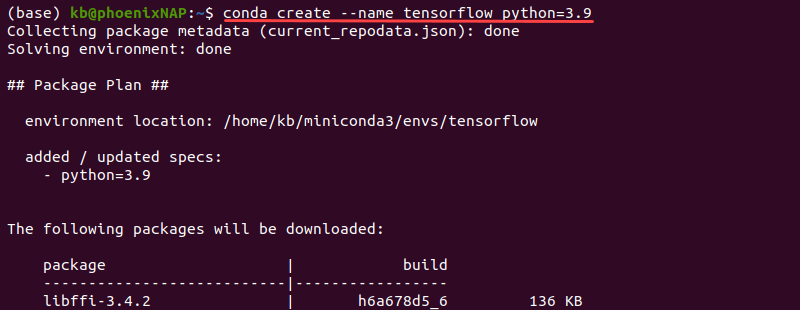
Press y to confirm the environment setup. The command creates an isolated environment with Python 3.9. If you use a different Python version, change the number to the version on your system. See how you can check the Python version.
3. Activate the environment with:
conda activate tensorflow
The shell prefix changes to (tensorflow). Keep the environment active for the rest of the installation process.
Step 3: Install TensorFlow
The next steps differ depending on whether you are installing TensorFlow for CPU or GPU. The choice depends on the workload requirements and available resources.
Option 1: Install TensorFlow For CPU
The tensorflow-cpu software package is simple to set up for beginners and supports CPU workloads. To install the package, type the following command:
pip install tensorflow-cpuThe installation downloads and sets up all the required dependencies.
Note: Specify the TensorFlow version to install an older build, for example:
pip install tensorflow-cpu==package_versionOption 2: Install TensorFlow For GPU
If using TensorFlow for GPU-based machine learning workloads, the setup requires an NVIDIA CUDA®-enabled GPU with the correct Nvidia driver installed.
Follow the steps below to install TensorFlow for GPU:
1. Install the CUDA toolkit and cuDNN packages with:
conda install -c conda-forge cudatoolkit=11.2 cudnn=8.1.0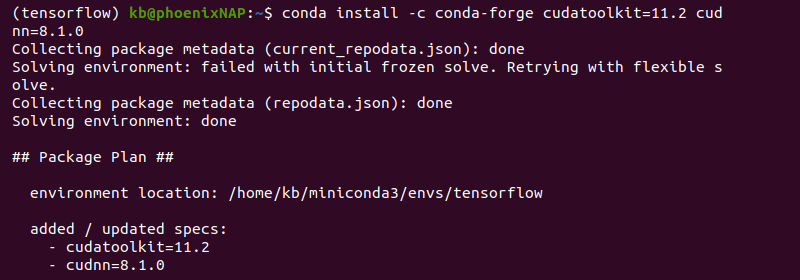
The CUDA toolkit enables GPU-accelerated development, while the cuDNN package provides GPU acceleration for deep neural networks.
2. Configure the system paths to activate when running the environment. Create a directory:
mkdir -p $CONDA_PREFIX/etc/conda/activate.d3. Export the paths with:
echo 'export LD_LIBRARY_PATH=$LD_LIBRARY_PATH:$CONDA_PREFIX/lib/' > $CONDA_PREFIX/etc/conda/activate.d/env_vars.sh4. Update the pip package manager:
pip install --upgrade pip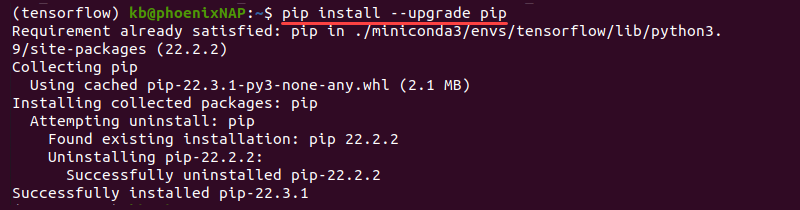
5. Lastly, install TensorFlow with GPU support with the following command:
pip install tensorflowThe default tensorflow library contains both CPU and GPU support by default.
Step 4: Verify TensorFlow Installation
To verify the TensorFlow installation in Ubuntu, enter the following command in a terminal window:
python -c "import tensorflow as tf; print(tf.random.normal([10,10]))"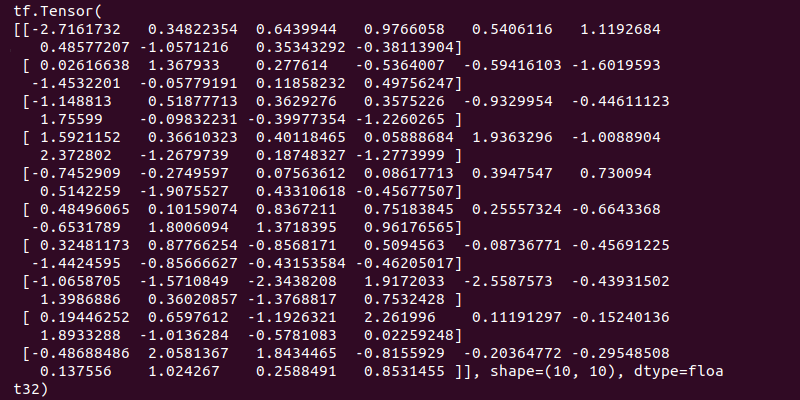
The output prints a Tensor with random values, indicating the installation worked.
Conclusion
This article showed you the steps for installing TensorFlow on Ubuntu 20.04. With the desired TensorFlow version (CPU and GPU support) installed on your system, you can now move on to developing your machine-learning models.
