Introduction
Apache Cassandra is a popular, open-source NoSQL database software. It provides high availability while handling a large amount of data. Regular relational databases cannot handle linear scaling, seamless data distribution, and other big data requirements as efficient as Cassandra.
A number of big players in online industries have turned to Apache Cassandra. Some of them include Netflix, Apple, Uber, and eBay.
Follow the steps listed in this guide to learn how to install Apache Cassandra on Ubuntu with the necessary packages.

Note: Learn more about Cassandra in our MongoDB vs Cassandra head-to-head comparison article.
Prerequisites
- An Ubuntu system
- Access to a terminal or command line
- A user with sudo or root
STEP 1: Install Packages Necessary for Apache Cassandra
Before you get on to installing Cassandra on Ubuntu, make sure you install Java OpenJDK 8 and the api-transport-https package.
If you already have these packages installed, you can skip to STEP 2 of the guide.
Note: We used Ubuntu 20.04 to provide the examples, but the instructions apply to other Ubuntu versions as well.
Install Java OpenJDK
Apache Cassandra needs OpenJDK 8 to run on an Ubuntu system. Update your package repository first:
sudo apt updateWhen the process finishes, install OpenJDK 8 using the following command:
sudo apt install openjdk-8-jdk -yWhen the installation completes, test if Java was installed successfully checking the Java version:
java -versionThe output should print the Java version.

The second digit (8) represents the version of Java.
Install the apt-transport-https Package
Next, install the APT transport package. You need to add this package to your system to enable access to the repositories using HTTPS.
Enter this command:
sudo apt install apt-transport-https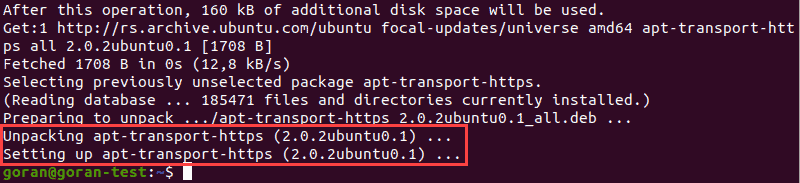
The example above highlights the final two steps of the apt-transport-https installation process.
STEP 2: Add Apache Cassandra Repository and Import GPG Key
You need to add the Apache Cassandra repository and pull the GPG key before installing the database.
Enter the command below to add the Cassandra repository to the sources list:
sudo sh -c 'echo "deb http://www.apache.org/dist/cassandra/debian 40x main" > /etc/apt/sources.list.d/cassandra.list'The output returns to a new line with no message.
The last major Cassandra release at the time of writing this article is 4.0. That is why we used 40 in the command. To install an older version, for example 3.9, replace 40x with 39x.
Then, use the wget command to pull the public key from the URL below:
wget -q -O - https://www.apache.org/dist/cassandra/KEYS | sudo apt-key add -
If you entered the command and the URL correctly, the output prints OK.
Note: pay attention the letter case in the URL above. You need to enter the correct case and the dash at the end of the command.
STEP 3: Install Apache Cassandra
You are now ready to install Cassandra on Ubuntu.
Update the repository package list:
sudo apt updateThen, run the install command:
sudo apt install Cassandra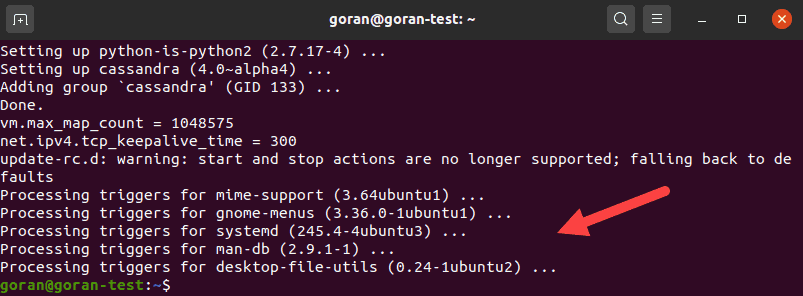
The output above shows the final section of the Cassandra installation procedure on Ubuntu 20.04. The output should look similar on older versions of Ubuntu.
Note: Once the installation finishes, the Cassandra service starts automatically. Also, a user cassandra is created during the process. That user is used to run the service.
Verify Apache Cassandra Installation
Finally, to make sure the Cassandra installation process completed properly, check cluster status:
nodetool status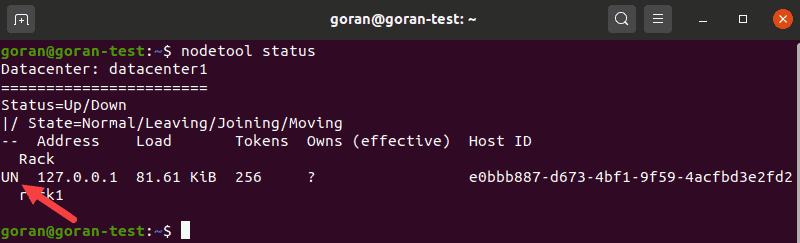
The UN letters in the output signal that the cluster is working.
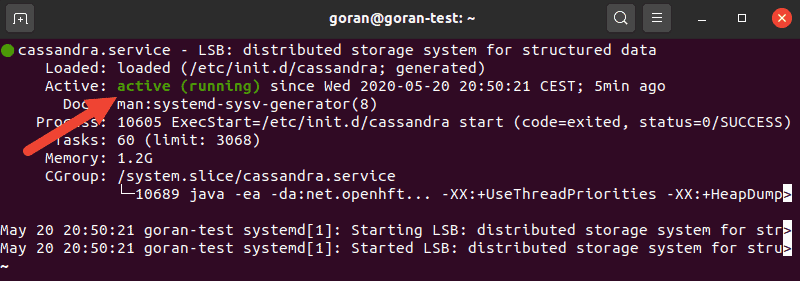
You can also check Cassandra status by entering:
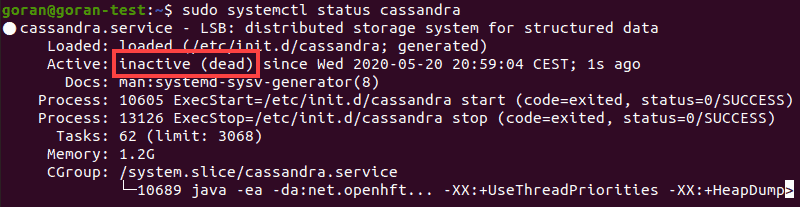
sudo systemctl status cassandraThe output should display active (running) in green.
Commands to Start, Stop, and Restart Cassandra Service
If, for any reason, the service shows inactive after the installation, you can start it manually.
Use the following command to start Cassandra:
sudo systemctl start cassandraCheck the status of the service again. It should change to active.
To restart the service, use the restart command:
sudo systemctl restart cassandraTo stop the Cassandra service, enter:
sudo systemctl stop cassandraThe status shows inactive after using the stop command.
Optional: Start Apache Cassandra Service Automatically on Boot
When you turn off or reboot your system, the Cassandra service switches to inactive.
To start Cassandra automatically after booting up, use the following command:
sudo systemctl enable cassandraNow, if your system reboots, the Cassandra service is enabled automatically.
STEP 4: Configure Apache Cassandra
You may want to change the Cassandra configuration settings depending on your requirements. The default configuration is sufficient if you intend to use Cassandra on a single node. If using Cassandra in a cluster, you can customize the main settings using the cassandra.yaml file.
Note: We strongly advise to create a backup of your cassandra.yaml file if you intend to edit it. To do so, use this command:
sudo cp /etc/cassandra/cassandra.yaml /etc/cassandra/cassandra.yaml.backupWe used the /etc/cassandra directory as a destination for the backup, but you can change the path as you see fit.
Rename Apache Cassandra Cluster
Use a text editor of your choice to open the cassandra.yaml file (we will be using nano):
sudo nano /etc/cassandra/cassandra.yaml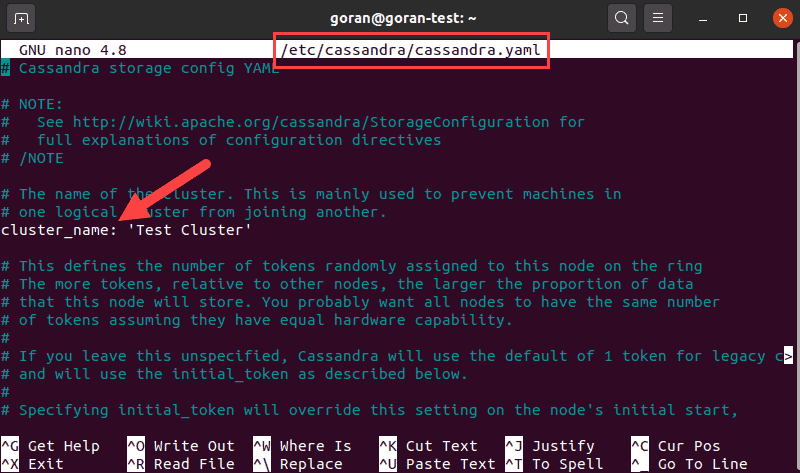
Find the line that reads cluster_name: The default name is Test Cluster. That is the first change you want to make when you start working with Cassandra.
If you do not want to make more changes, exit and save the file.
Add IP Addresses of Cassandra Nodes
Another thing that you must add to the cassandra.yaml if you are running a cluster is the IP address of every node.
Open the configuration file and under the seed _provider section, find the seeds entry:
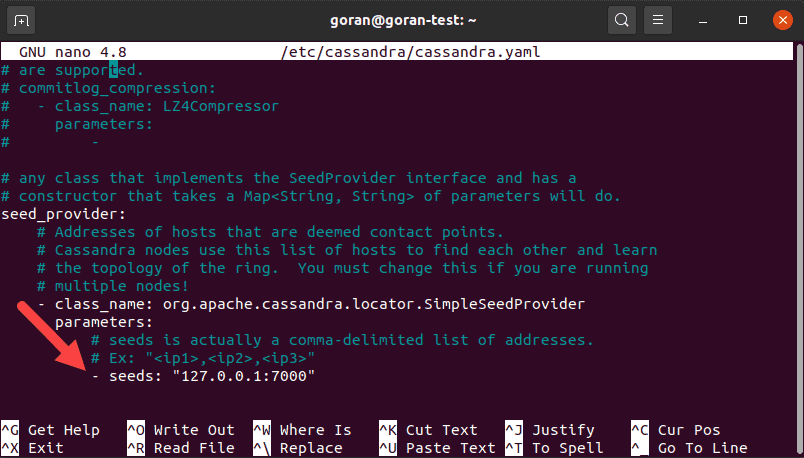
Add the IP address of every node in your cluster. Divide the entries by using a comma after every address.
STEP 5: Test Cassandra Command-Line Shell
The Cassandra software package comes with its command-line tool (CLI). This tool uses Cassandra Query Language (CQL) for communication.
To start a new shell, open the terminal and type:
cqlsh
A shell loads showing the connection to the default cluster. If you had changed the cluster_name parameter, it will show the one you defined in the configuration file. The example above is the default connection to the localhost.
Conclusion
By following these simple steps, you should have a working Cassandra installation on your Ubuntu system.
Additionally, we showed you how to edit the most important parameters in the Cassandra configuration file. Remember to make a backup of the conf file, just in case, and you can start using the Cassandra database software.
Learn more about how to use Cassandra in our guide on how to create, drop, alter and truncate Cassandra tables.
